Gather your supplies!
-Couple sets of pliers
-Buttons
-2 medium jump rings
-2 small jump rings
-2 french hoops
-Couple sets of pliers
-Buttons
-2 medium jump rings
-2 small jump rings
-2 french hoops

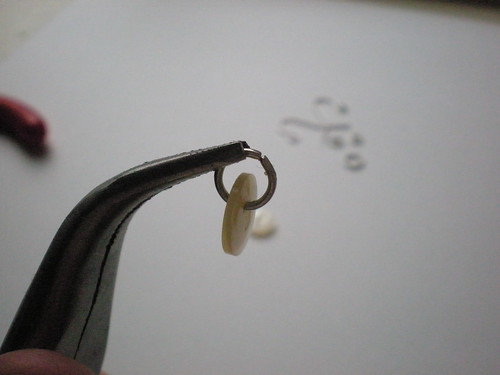
Take a medium jump ring and open it up with your pliers. Be really gentle and hold one side steady while you move the other side straight back. Try not to twist it open apart, they can be a pain to get back into shape if you go all wonky with it.

Put your button on to the jump ring. Make sure you can close it with enough room to attach the next ring. I've had to go another size up before, all depends on how far away the button's hole is to the edge.

Close it up!

Open the smaller jump ring just like the medium one before it.

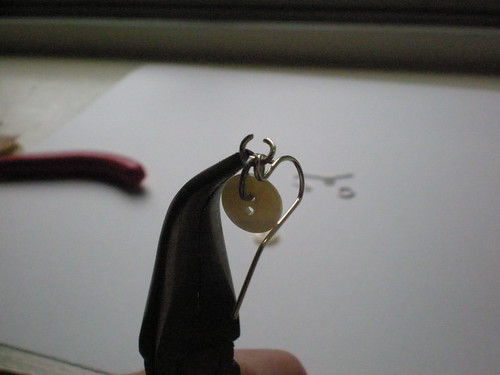
Put your medium jump ring, with button attached, onto the new smaller one.

Add your french hook onto the still open small jump ring. Make sure you take a second and think about which side will be facing out. This is only important when you have two different sides to your button. I do in this case.

Tada! You have an earring! Now do it again!

A pretty pair of vintage button earrings! Hope you liked it! Now go to Salvation Army or Goodwill, grab a giant bag of buttons for $1 and get to work.

cute! thanks for the tutorial.
ReplyDelete